e. Launch an EC2 Instance
We will now launch an EC2 Linux based instance.
-
Return to the AWS Management Console and open the Amazon EC2 Dashboard.
-
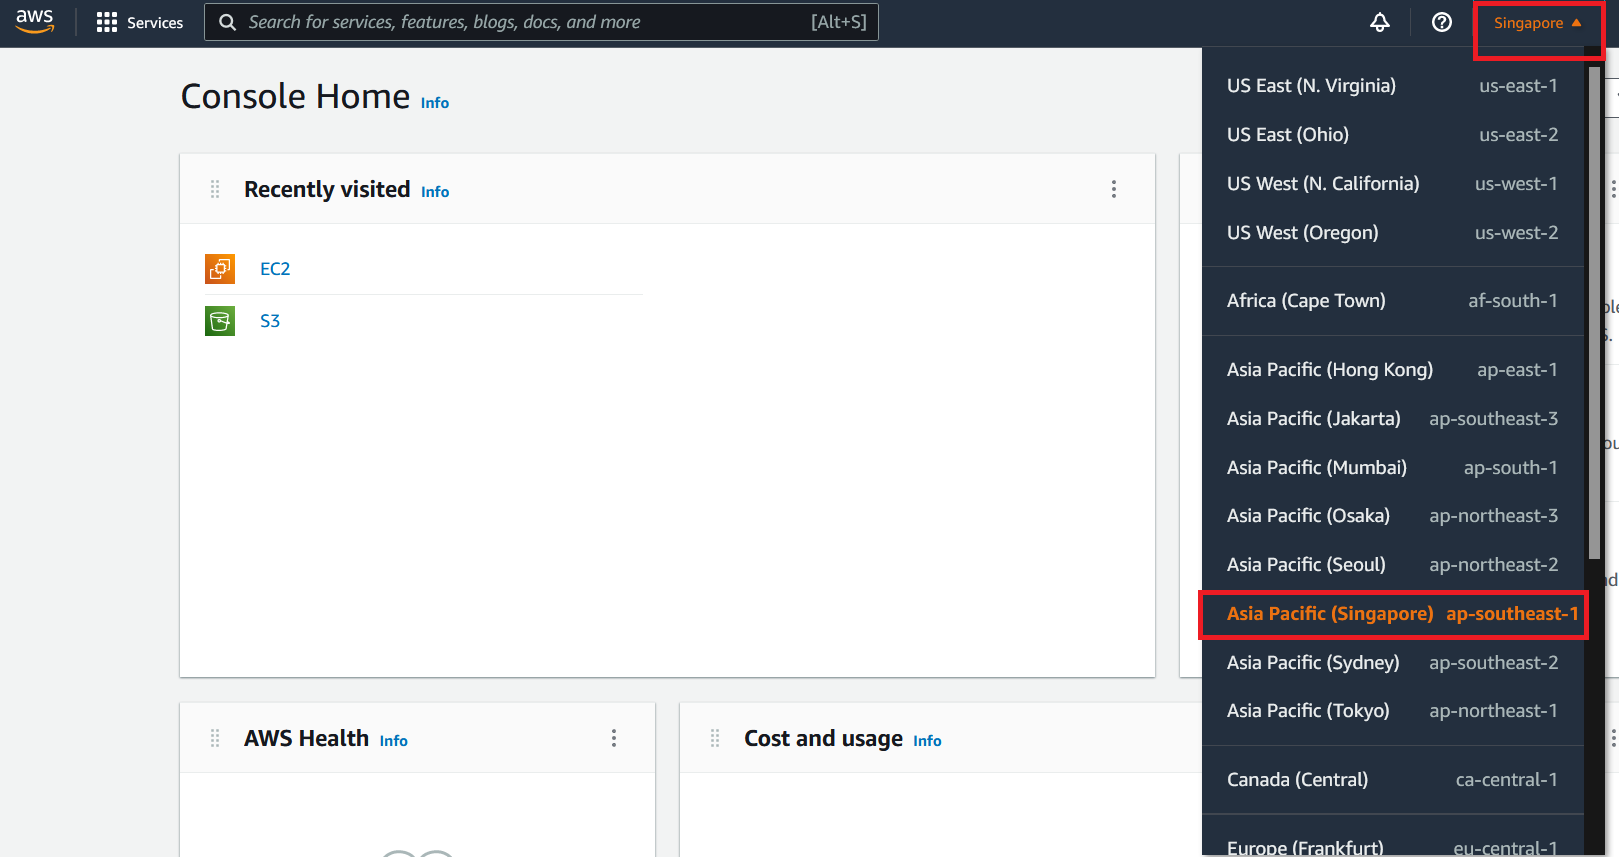
In the upper-right corner of the AWS Management Console, confirm you are in the desired AWS region (e.g., Singapore).
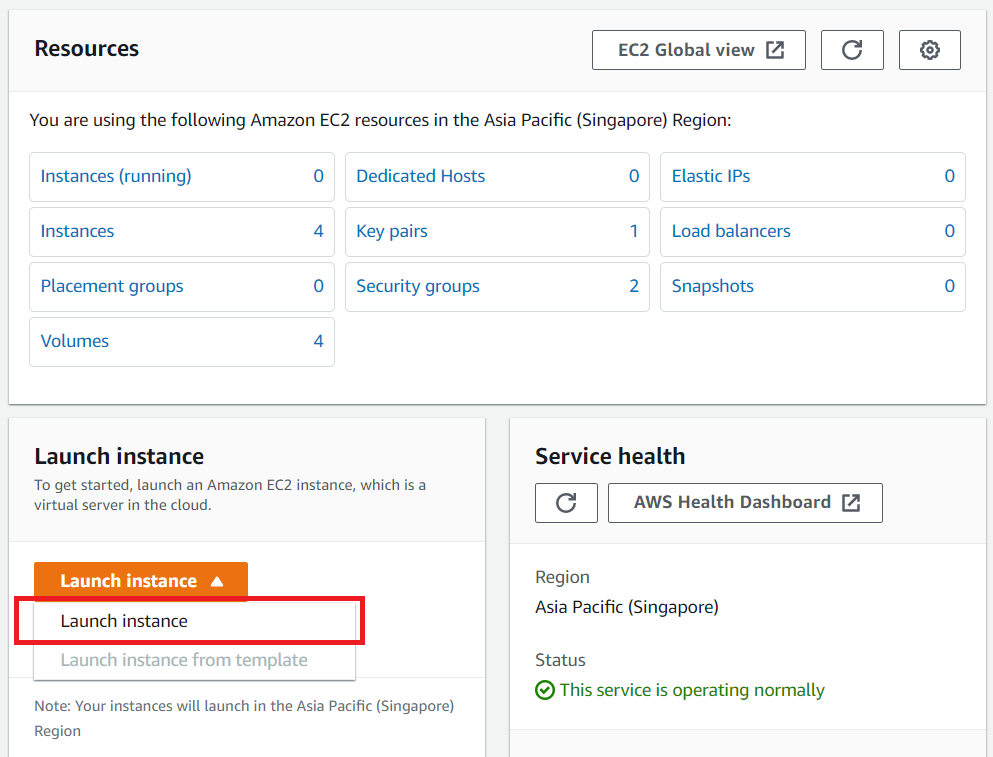
- Click Launch instance, then click Launch instance again from the drop down menu.
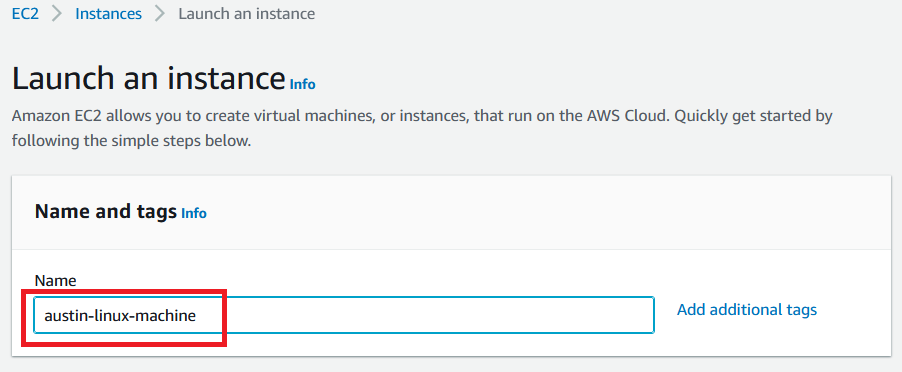
- On the Launch an instance page, you can choose a friendly name for your instance.
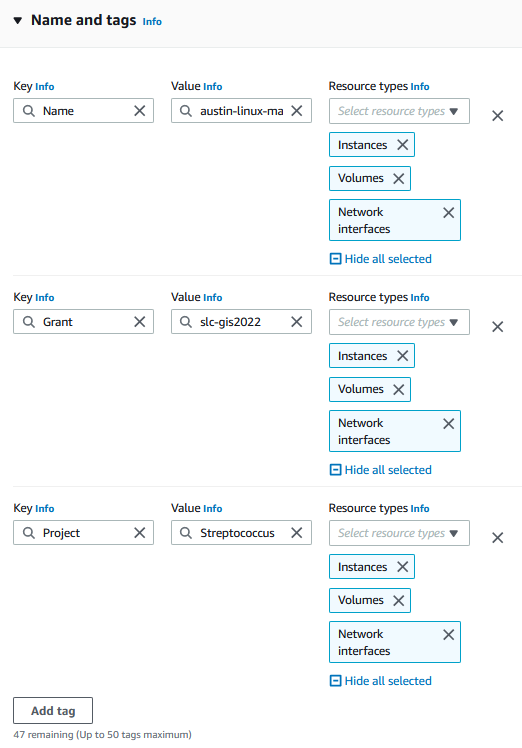
- Click on “Add additional tags” and “Add Tag”. You will find the “Name” you provided for your instance. Now enter the key and value. These keys, more correctly known as a tags, will appear in the console once the instance launches. It makes it easy to keep track of running machines in a complex environment. Create additional tags similar for the ones you used for the key pair previously - give a user and grant key to this machine, and enter the same values. When ready, select Instances, Volumes, Network interfaces under the Resource types.
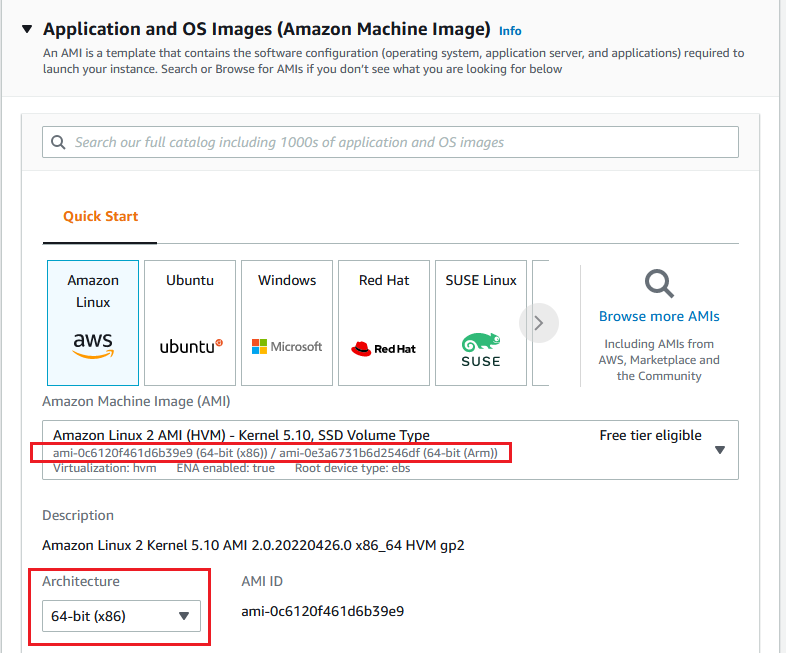
- Now select the first Amazon Linux 2 AMI(HVM), SSD Volume Type and check 64-bit (x86) under the Architecture drop-down list.
NOTE: The ami-xxxxxxxxx label and specific versions of the installed package may be different than in the image below.
- Under Instance type, click on the drop-down arrow and type c5.2xlarge into the search bar.
Note: This is a somewhat large instance; in general, you should pick these instances based on an analysis of how much RAM and CPU you will need for your job / analysis.

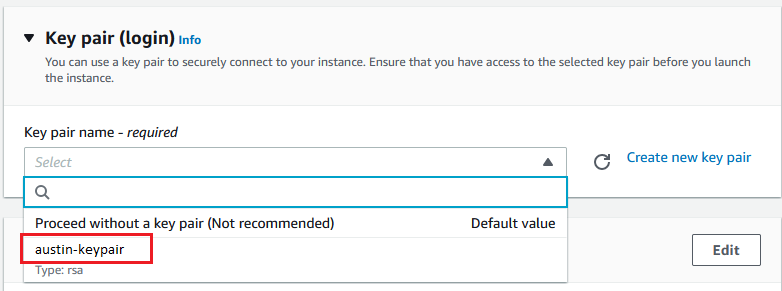
- Select the key pair that you created in the beginning of this lab from the drop-down list under Key pair (login).
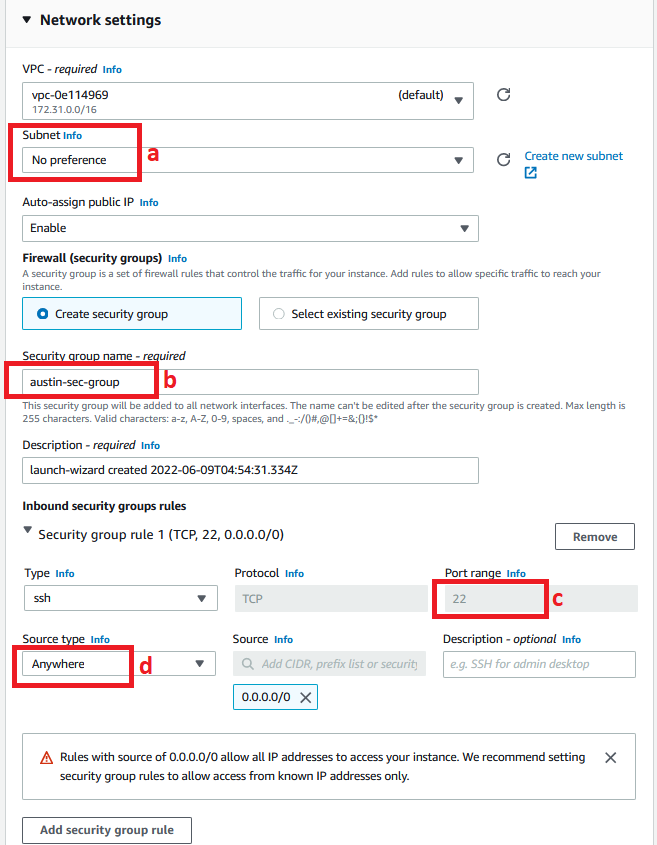
- Next click on Edit against Network settings. You will be prompted to provide Subnet and Security group details. The security groups will be your firewall rules.
a. Note that the Subnet field can be configured to launch the instance in a specific Availability Zone; while we are keeping the default for this workshop, this gives you control over the location of your machine.
b. Provide a name for your new security group. NOTE: For the purpose of this lab use your “[Your initials]-sec-group”.
c. Confirm an existing SSH rule exists which allows TCP port 22.
d. To accept connections from anywhere, select the drop-down box under the Source type column and select Anywhere which will correspond to 0.0.0.0/0.
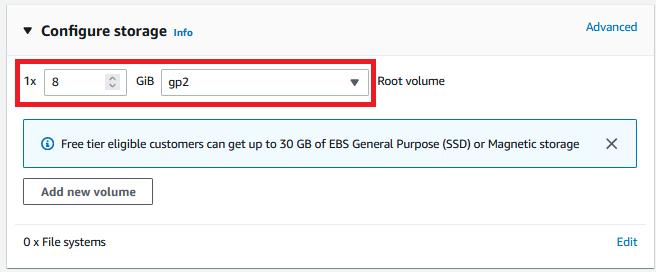
- Under Configure storage, you have the ability to modify or add storage and disk drives to the instance. For this lab, we will simply accept the storage defaults.
- Review your configuration under Summary and click Launch Instance.
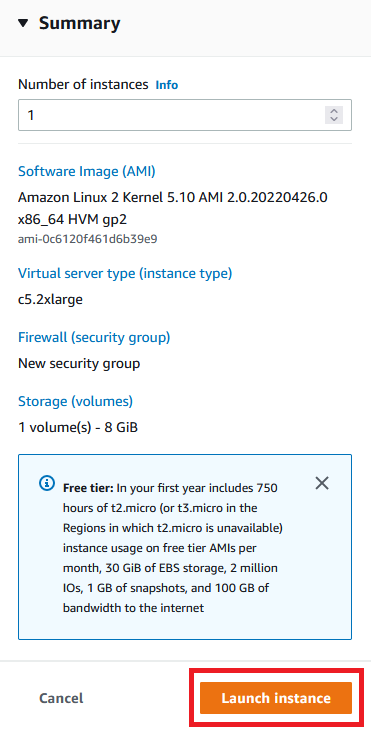
Your instance will now start, which may take a moment. You will be shown the Launch Status page with the message Successfully initiated launch of instance.
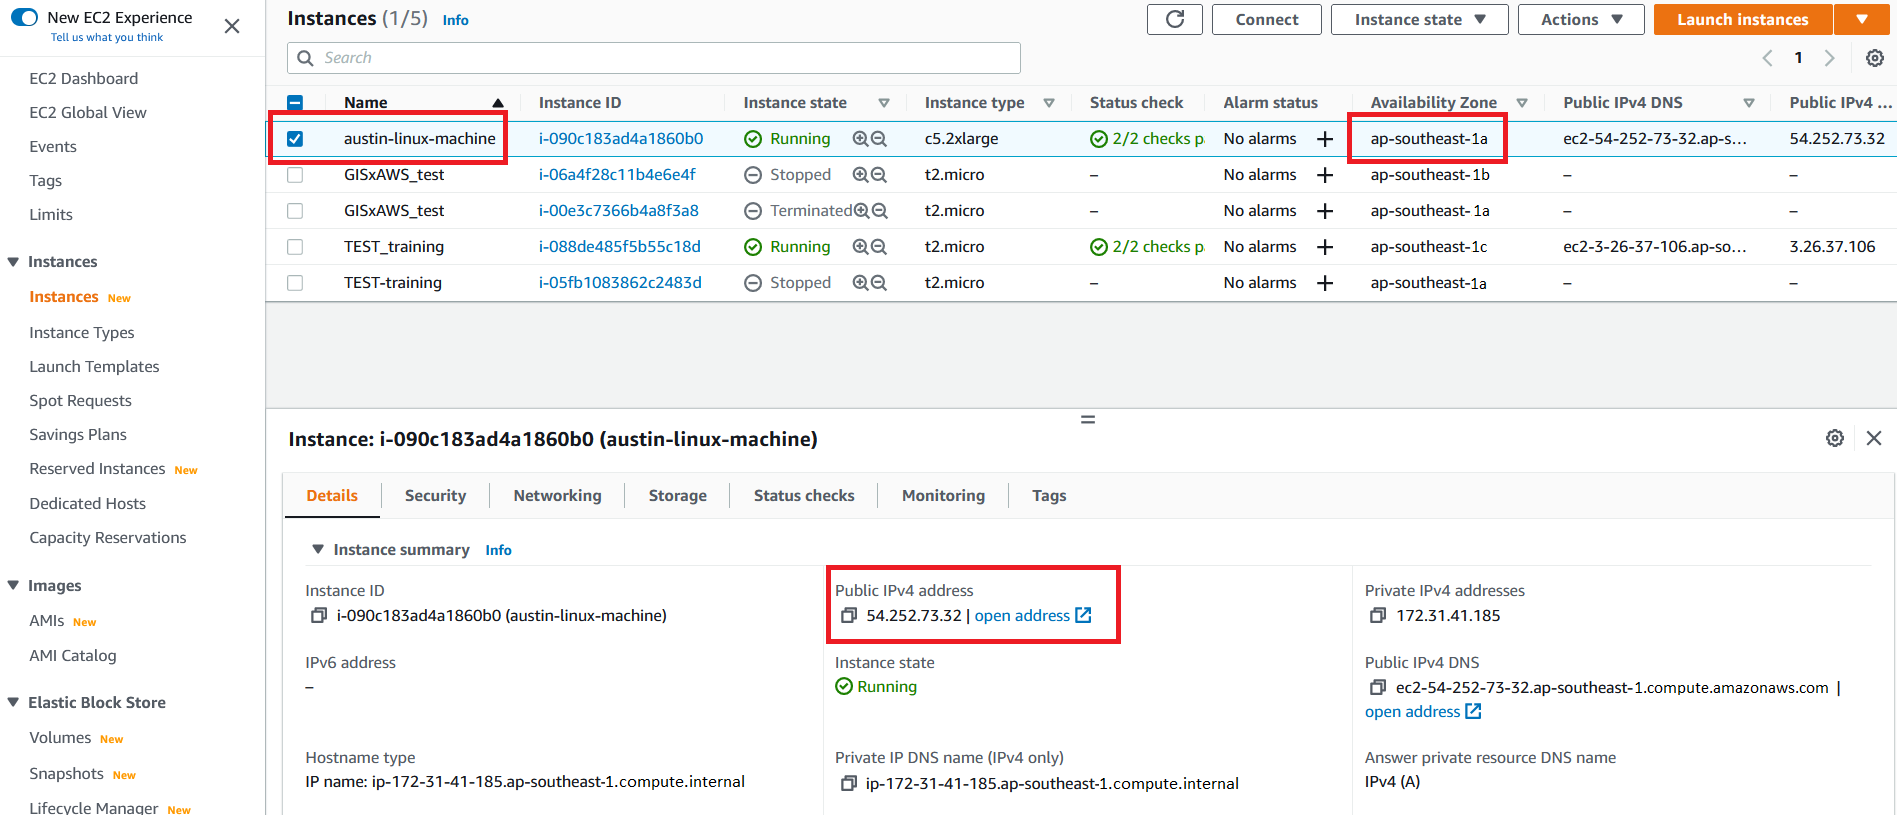
- On the lower right of the page click on View all Instances to view the list of EC2 instances. Click on your instance. It will go through an initialization process. Once your instance has launched, you will see your Linux server as well as the Availability Zone the instance is in, and the publicly routable DNS name.
