a. Share an AMI
We will now share the AMI we earlier created with another collaborator.
Note: Ensure you have the individual’s or group’s AWS Account Number for this purpose.
-
In the AWS Management Console search bar, type EC2.
-
Click on EC2 to open the EC2 dashboard Console.
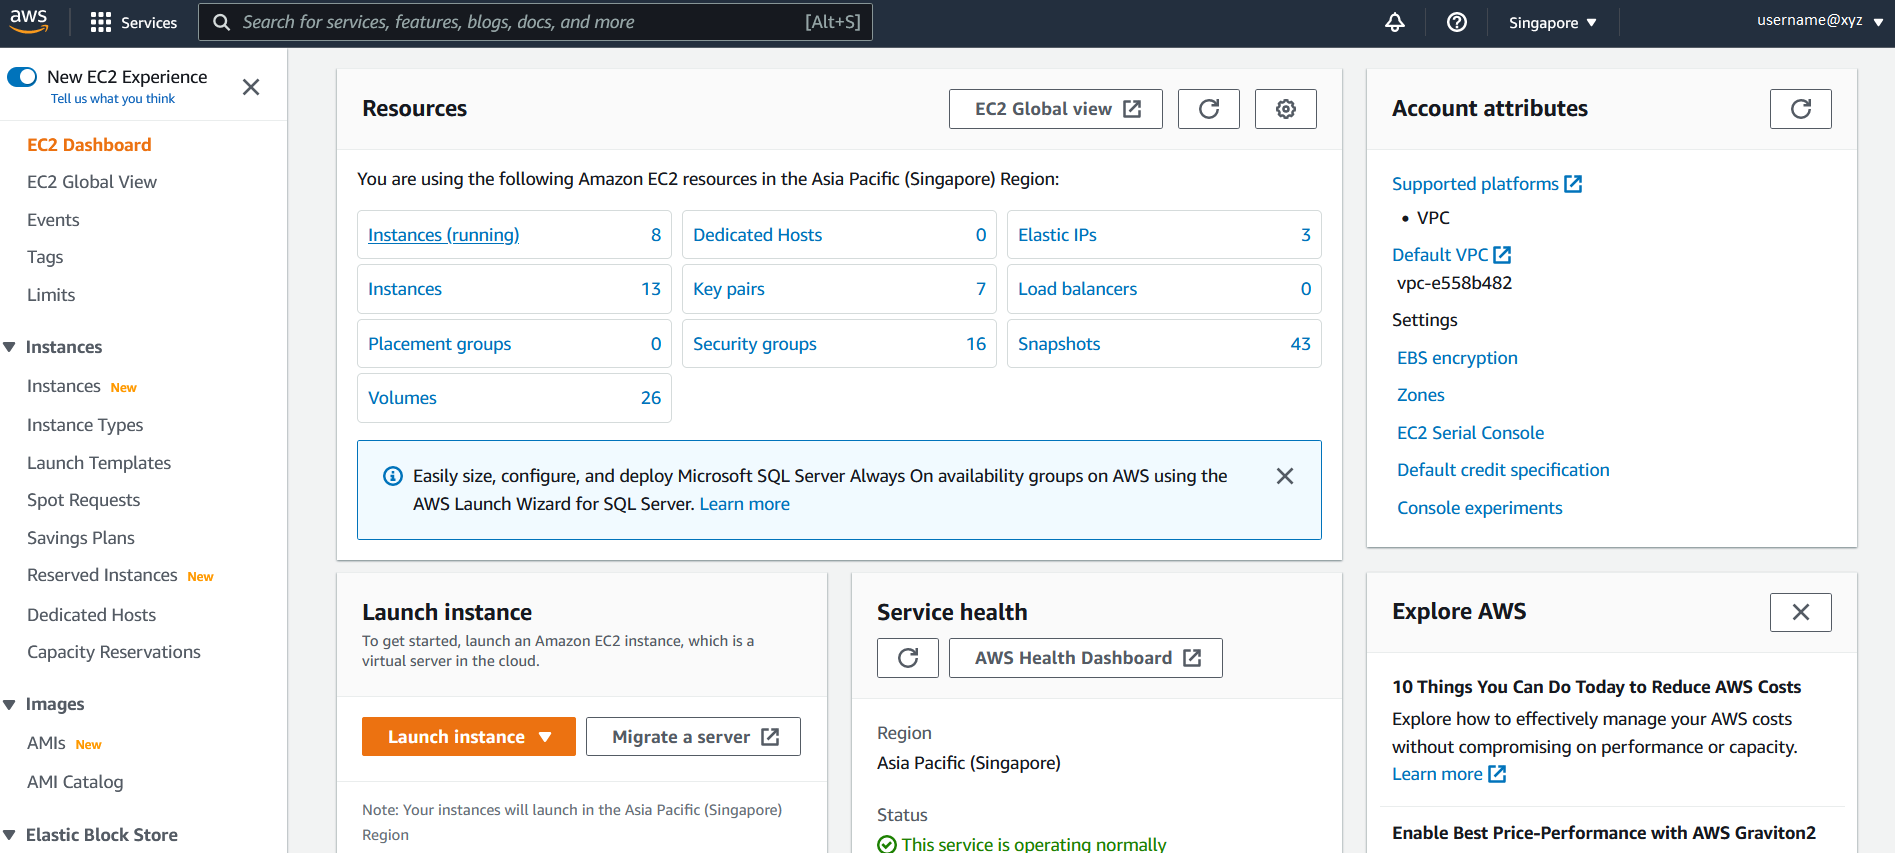
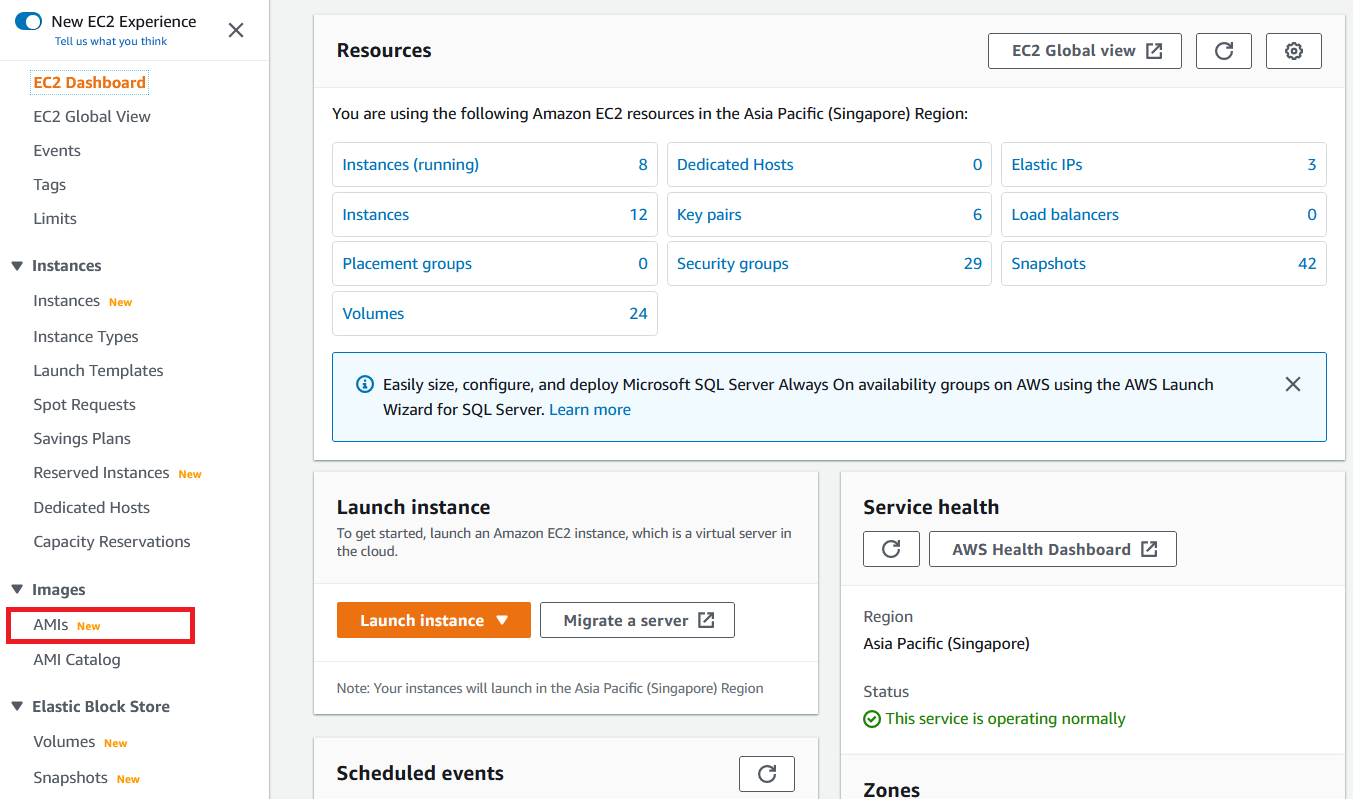
- On the Left navigation pane click on AMIs under the Images section.
- From the list of AMIs, select the AMI you created in the previous section of the workshop.
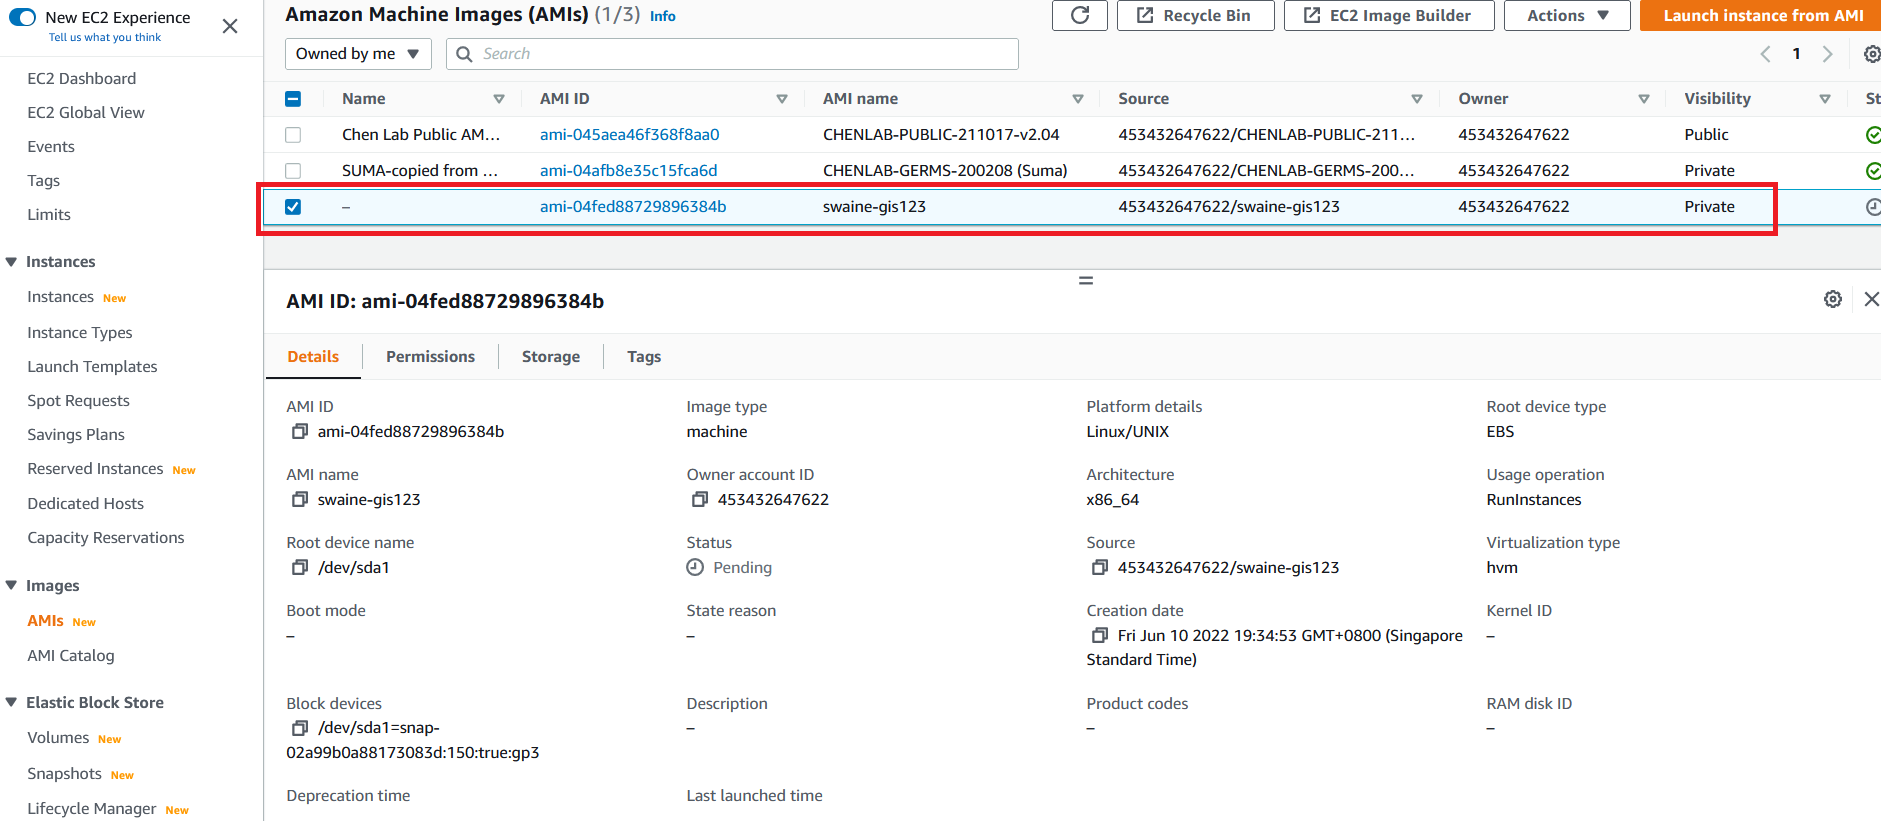
- Next click on Actions and click on Edit AMI Permissions.

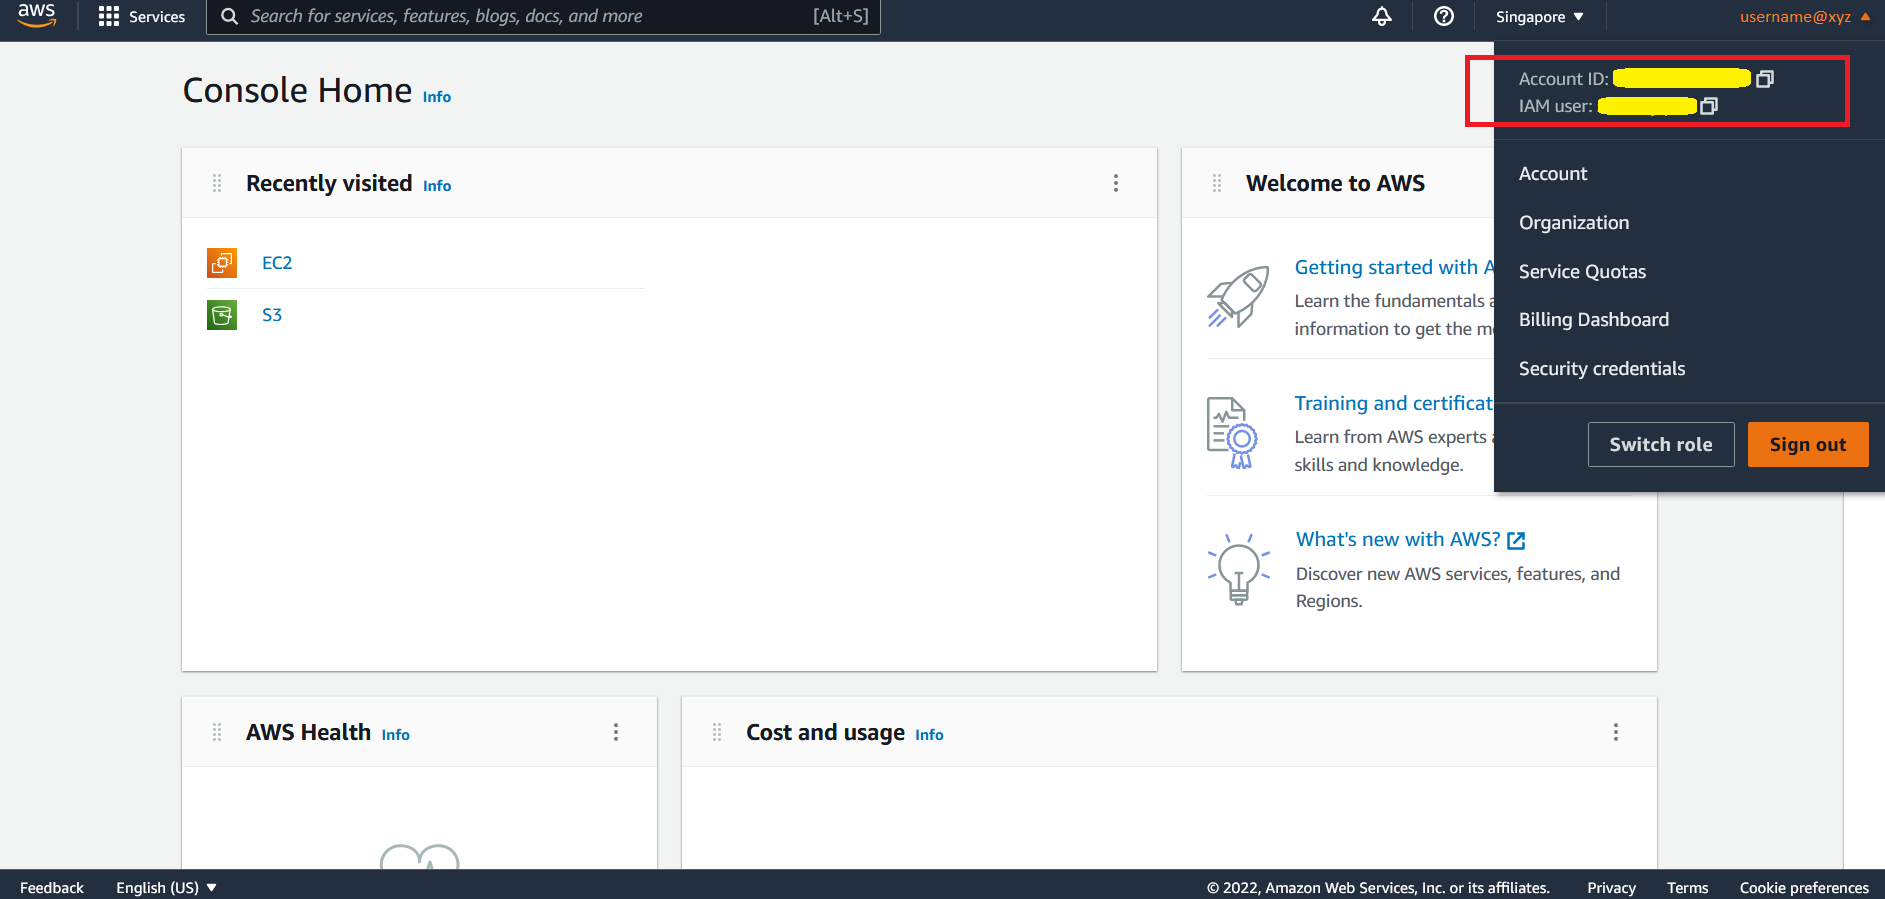
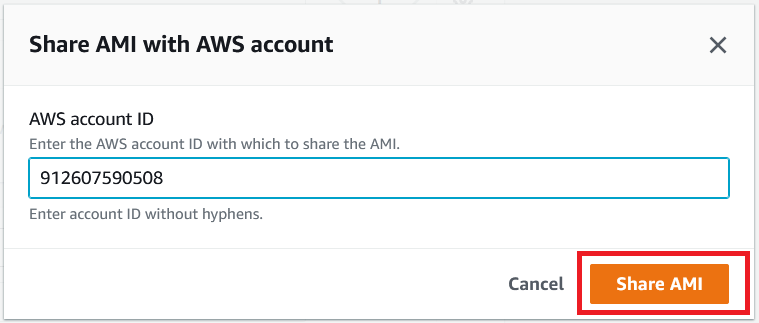
- Under the Edit AMI Permissions leave the default settings and click on Add account ID under Shared accounts. Type in the AWS Account ID into the field and click on Share AMI. Be absolutely sure to clarify the correct AWS Account Number with your collaborator.
The AWS Account ID appears here
Observe that by default, the image is set to Private. Keep that option checked, and enter the AWS Account Number in the space provided below. This will ensure that your image is still private (not available to public access), but the specific account mentioned will have access.

- Click on the Save button. Scroll down on the Edit AMI persmissions page and click on Save changes.
Your AMI has now been shared with this specific AWS Account Number provided. Invite your collaborator to click on Launch Instance on the EC2 Dashboard and search for the AMI you recently shared under Application and OS images (Amazon Machine Image) > My AMIs > Shared with me.
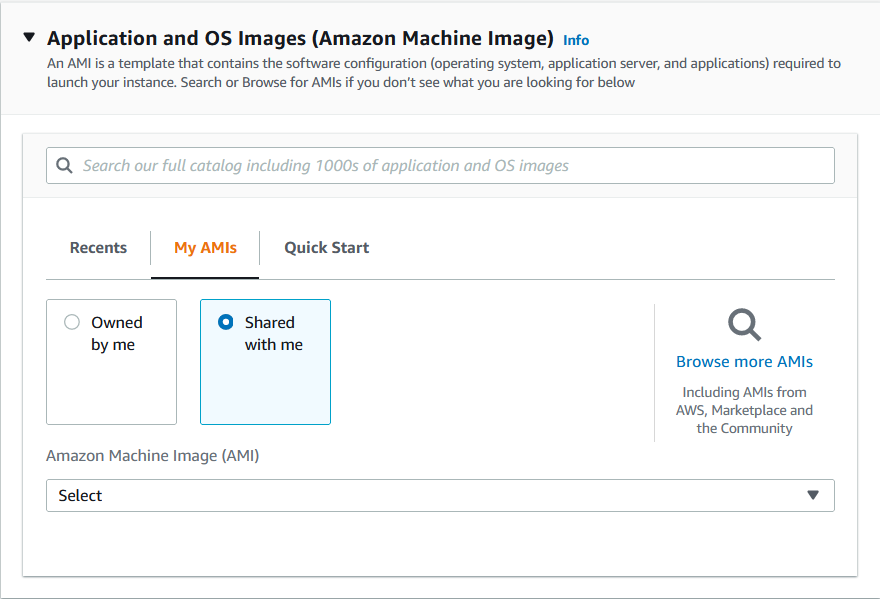
Your collaborator will now be able to create an EC2 instance from your shared AMI (Refer to Section X about setting up a linux machine from a previously created AMI).